> ## Documentation Index
> Fetch the complete documentation index at: https://docs.payluk.ng/llms.txt
> Use this file to discover all available pages before exploring further.
# Set up testnet cNGN (BSC)
> Add the testnet cNGN token to MetaMask on the BSC Testnet, claim faucet tokens, and whitelist your address so you can test crypto deposits on Payluk.
This guide gets you a funded testnet wallet so you can exercise Payluk's **crypto
deposit** flow end-to-end without spending real money. You'll add the cNGN token to
MetaMask on the **BNB Smart Chain (BSC) Testnet**, claim test cNGN from the faucet,
and whitelist your address.
This setup is for **testnet only**: testnet tokens have no monetary value. When you
test deposits against the API, use the staging base URL `https://staging.api.payluk.ng`.
Payluk settles crypto only in **cNGN as a BEP-20 token on the Binance Smart Chain (BSC)**.
Sending any other token, or using any other chain, results in **lost funds**.
## Prerequisites
* A desktop browser (Chrome, Firefox, or Brave recommended)
* A [Payluk account](https://app.payluk.ng)
* A few minutes
## Add cNGN to MetaMask
Add the MetaMask extension to your browser, then follow the prompts to create or
import a wallet and securely store your seed phrase.
* **Chrome**: [MetaMask on the Chrome Web Store](https://chrome.google.com/webstore/detail/metamask)
* **Firefox**: [MetaMask on Firefox Add-ons](https://addons.mozilla.org/en-US/firefox/addon/ether-metamask/)
* **Brave**: available via the Chrome Web Store link above
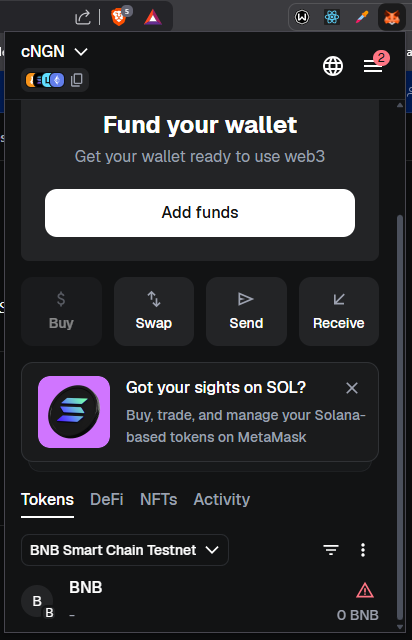
1. Go to [testnet.bscscan.com](https://testnet.bscscan.com/).
2. Scroll to the **bottom left** of the page.
3. Click **Add BSC Testnet Network**.
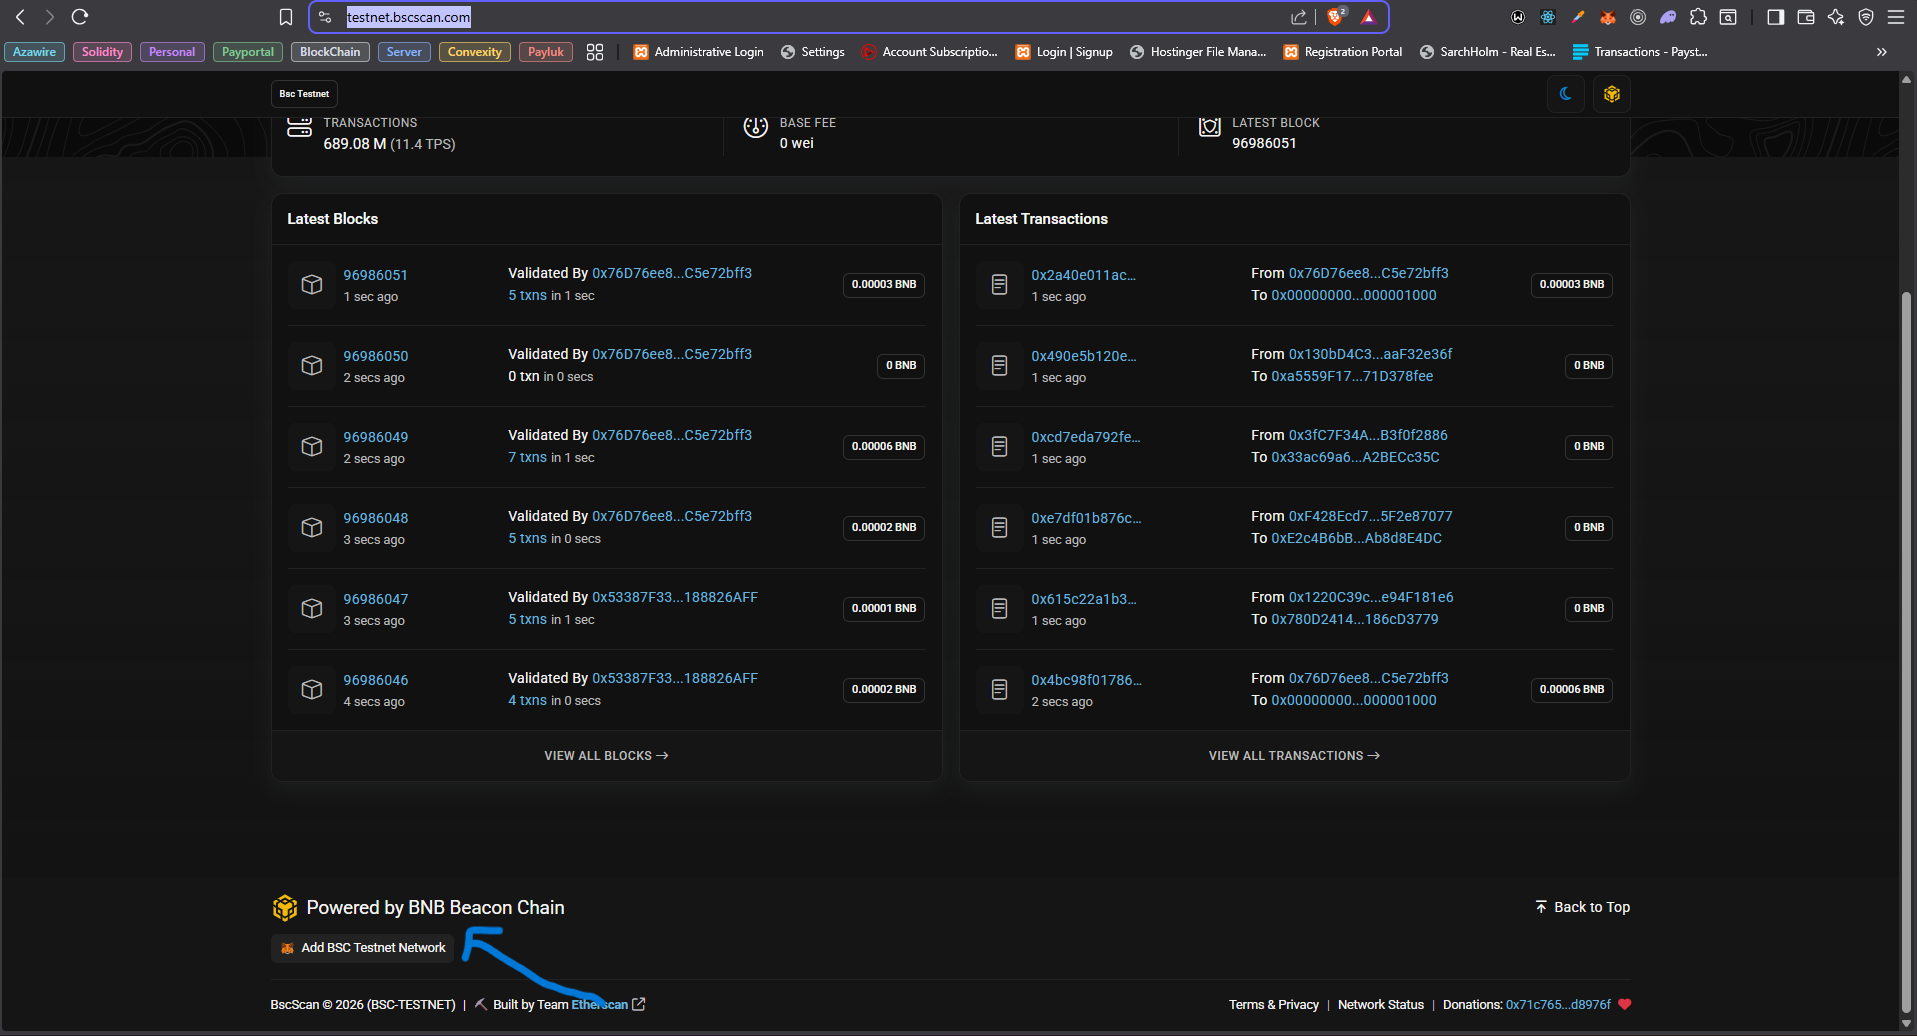
1. Open the MetaMask extension.
2. Click the network dropdown at the top.
3. Confirm **BNB Smart Chain Testnet** is now listed.
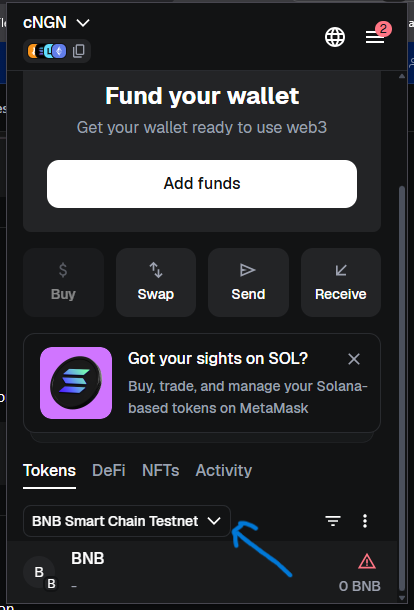
1. With **BNB Smart Chain Testnet** selected, find the Tokens section.
2. Click the three-dot icon (**⋮**) on the right of the network entry.
3. Select **Import Token**.
4. Paste the cNGN **BSC Testnet contract address**, then click **Import**.
Find the current BSC Testnet contract address in the official cNGN repository:
[github.com/wrappedcbdc/stablecoin-cngn](https://github.com/wrappedcbdc/stablecoin-cngn).
Always copy it from the source rather than reusing one pasted elsewhere.
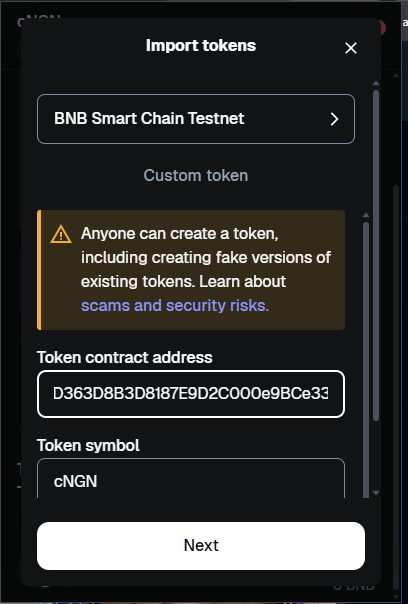
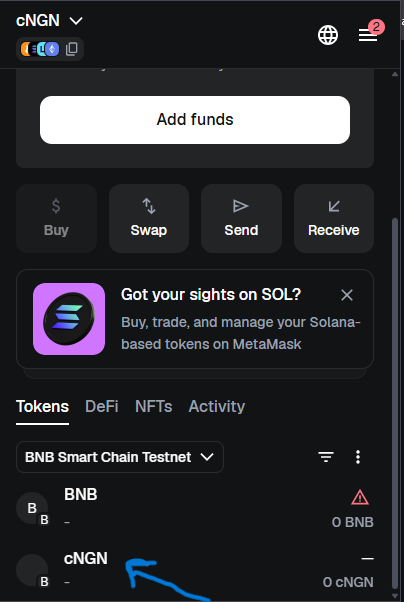
You should now see **cNGN** listed below BNB in your MetaMask token list.
## Claim test cNGN from the faucet
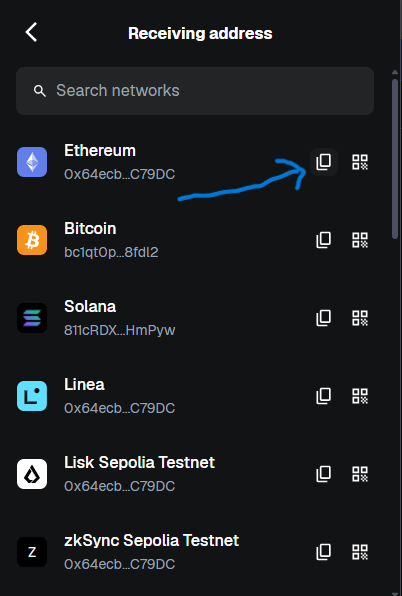
1. In MetaMask, click **Receive** and copy your **EVM wallet address**.
2. Log in to your [cNGN account](https://cngn.co).
3. Open the **Whitelist** section and add the address you copied.
1. Go to [cngn.co/faucet](https://cngn.co/faucet).
2. Paste your whitelisted EVM wallet address.
3. Select **BSC** as the network.
4. Submit: **1,000 cNGN** will be sent to your wallet. 🎉
This is the **cNGN issuer's** whitelist; it gates who can claim from the faucet. It is
**separate** from Payluk's deposit whitelist (covered next).
## Use your testnet cNGN with Payluk
You now have a funded BSC Testnet wallet. To deposit that cNGN into a customer's Payluk
wallet, the **sending address must be whitelisted with Payluk**: Payluk only credits
deposits from whitelisted addresses, and deposits from unknown addresses are reverted.
Add the same address via [Add whitelisted address](/api-reference/crypto-whitelist/add-whitelisted-address)
with the buyer's **`customer-id`** header (or from the dashboard). Use `network: "BSC"`.
```bash theme={null}
curl -X POST https://staging.api.payluk.ng/v1/whitelist-address \
-H "Authorization: Bearer sk_test_…" \
-H "customer-id: " \
-H "Content-Type: application/json" \
-d '{
"walletAddress": "0x0915ea16f52b11444695d283e6c0f5936d1e0d56",
"network": "BSC",
"label": "My testnet wallet"
}'
```
Call [Get master wallet address](/api-reference/payments/get-master-wallet-address)
to retrieve the Payluk deposit address the customer should send cNGN to. The response
also includes a `qrCode` and an `explorerUrl`.
From MetaMask, send your test cNGN (BEP-20, BSC) to that deposit address. Once the
transfer confirms on-chain, the funds are credited to the customer's Payluk wallet.
A deposit from a **non-whitelisted** address is not credited; it is reverted to the
sender. Whitelist the address with Payluk **before** sending funds.
## Summary
| Step | Action |
| ---- | ------------------------------------------------------------------------------- |
| 1 | Install the MetaMask browser extension |
| 2 | Add BSC Testnet via testnet.bscscan.com |
| 3 | Confirm BNB Smart Chain Testnet in MetaMask |
| 4 | Import the cNGN token using its BSC Testnet contract address |
| 5 | Verify cNGN appears in your wallet |
| 6 | Whitelist your address on cNGN and claim 1,000 cNGN from the faucet |
| 7 | Whitelist the address with Payluk and deposit cNGN to the master wallet address |
## Next steps
Manage the addresses a customer is allowed to deposit from.
The destination address customers send cNGN to.
See where wallet funding fits in the full merchant journey.
Move funds via withdrawal, deposit, wallet transfer, or crypto.